Build your own boatshop
This is where you will find tips, techniques, and ideas I would like to share.
THE A-FRAME SCAFFOLD
The proper working height for a task can be as elusive as choosing the right tool. What might be the perfect work height for one task, might be horrible for the next. This goes double for the curving shapes of boats. Working with your hands extended above your head for several days is enough to make a simple task into a miserable one, likewise working on ones knees unnecessarily is not fun.

With that in mind, you might use a ladder, but what if you need to work the length of a boat or building? Metal pipe staging is another good option, especially if your scaffold needs to be portable.

finished A-Frame scaffold
We recently chose to build some A-frame scaffolding for the boatyard to accompany some that we already had.
All of this was done by eye, with very little measuring involved.
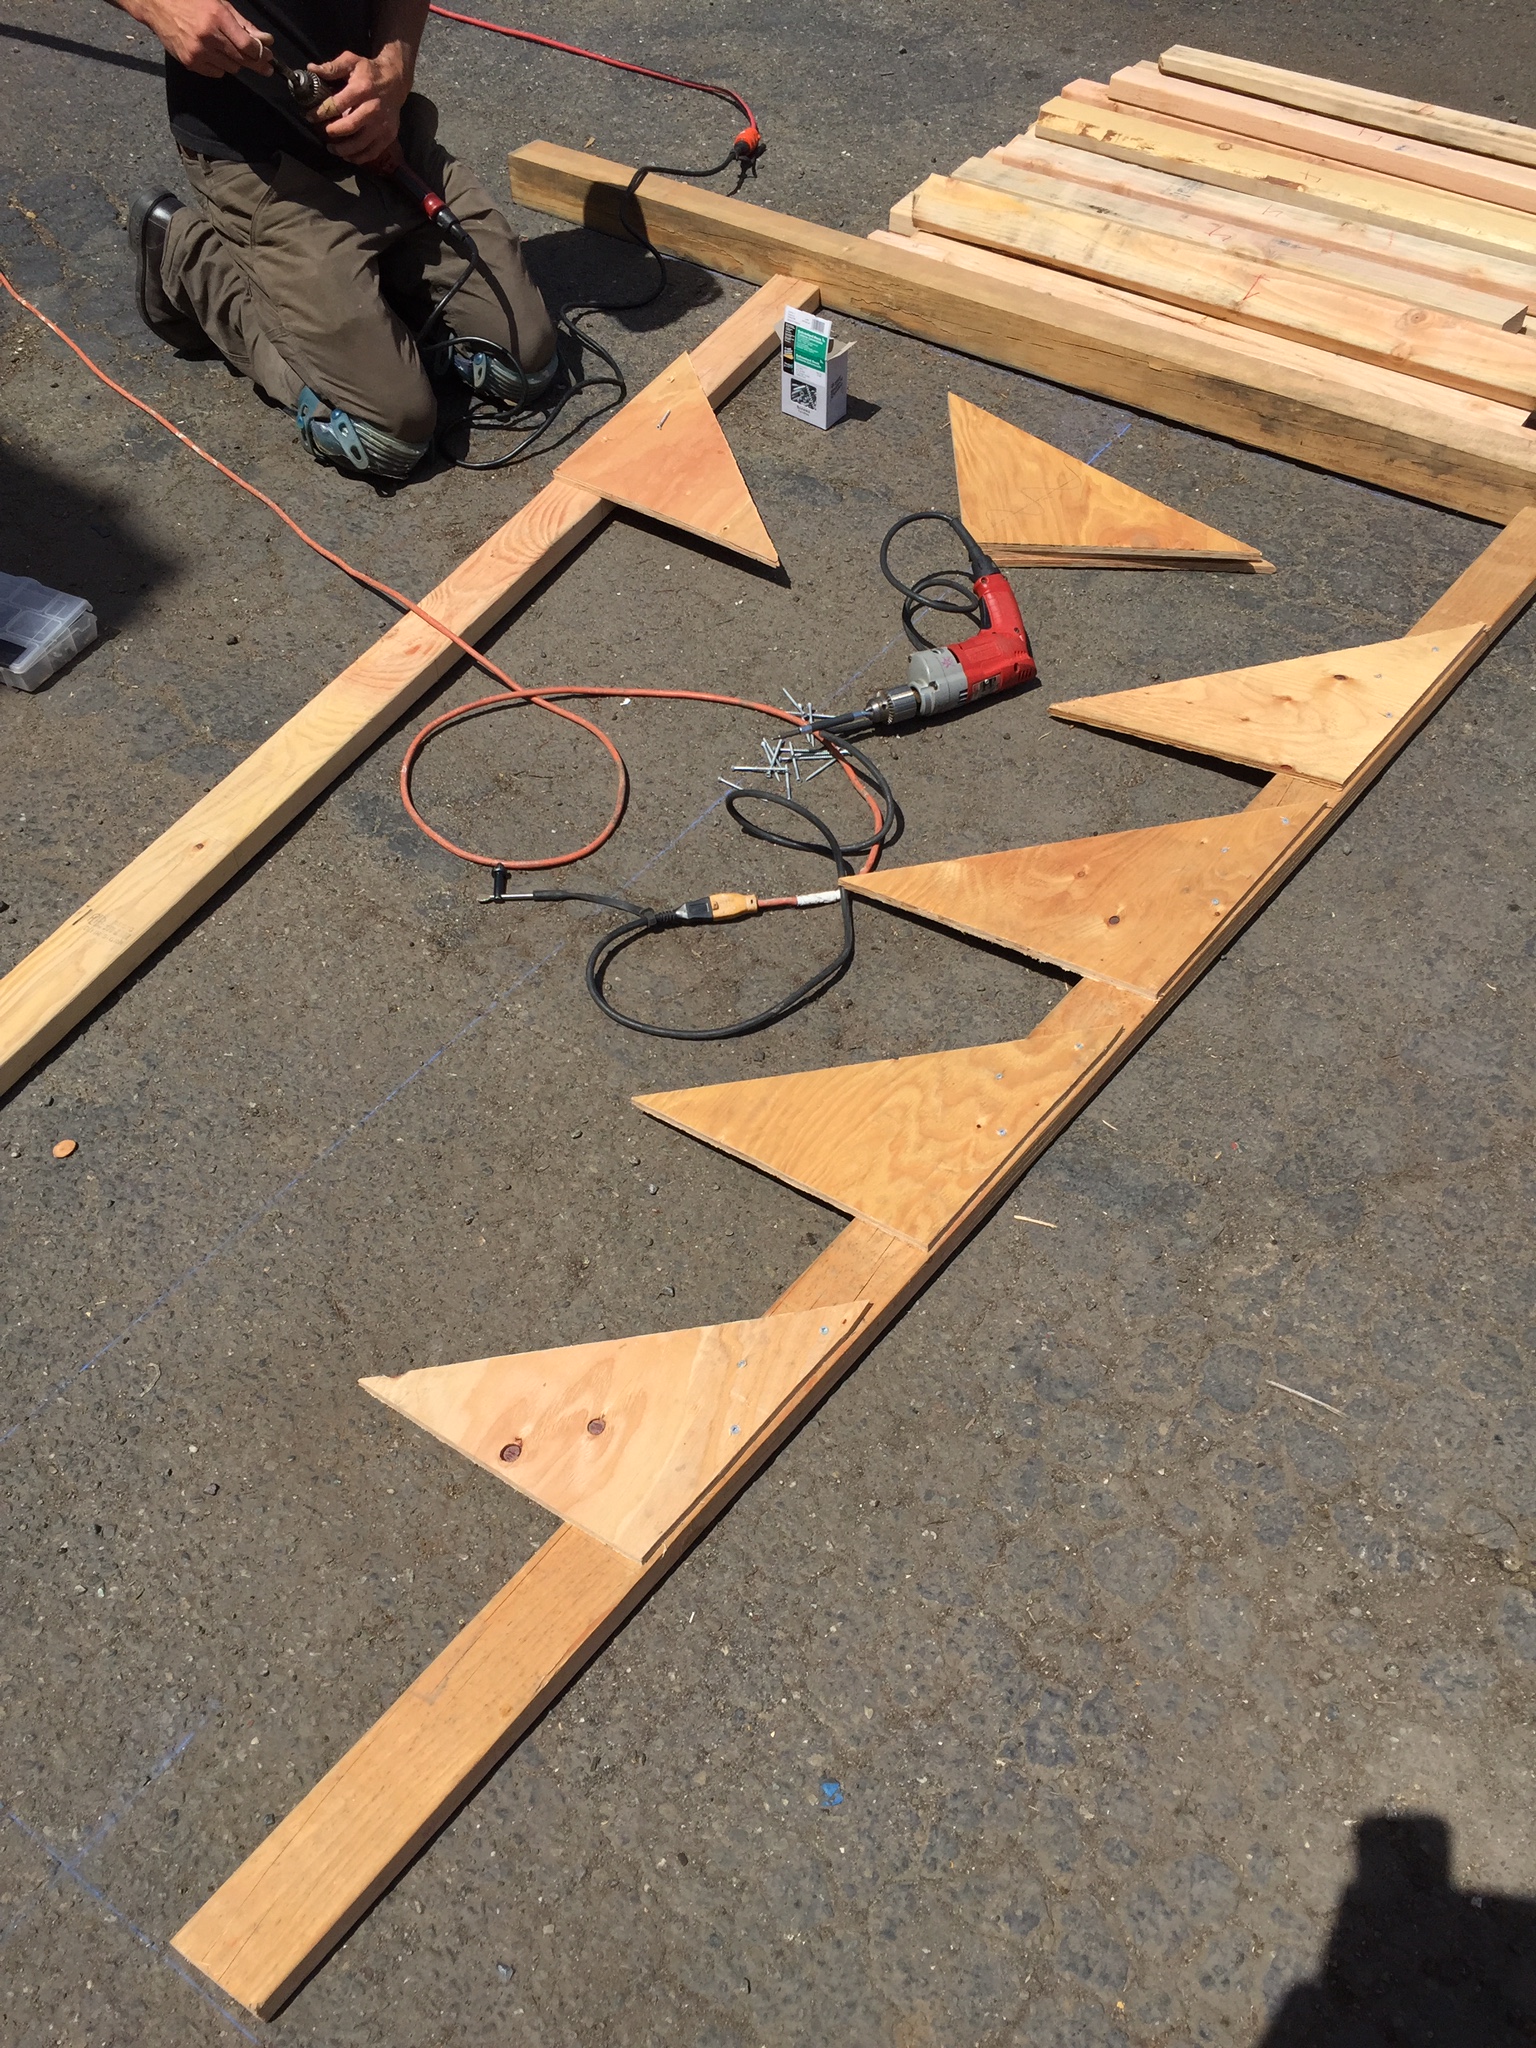
We first did a sketch to determine a material list. Next we plotted a large layout on the ground that consisted of a baseline and a perpendicular line extending from it (a large upside down T.) This T shape helps to keep everything aligned square and symmetrical.

Next, we consulted a ladder to get the correct angles of splay. The splay gives a slight pyramid shape, which makes the A-frame much less likely to tip over.
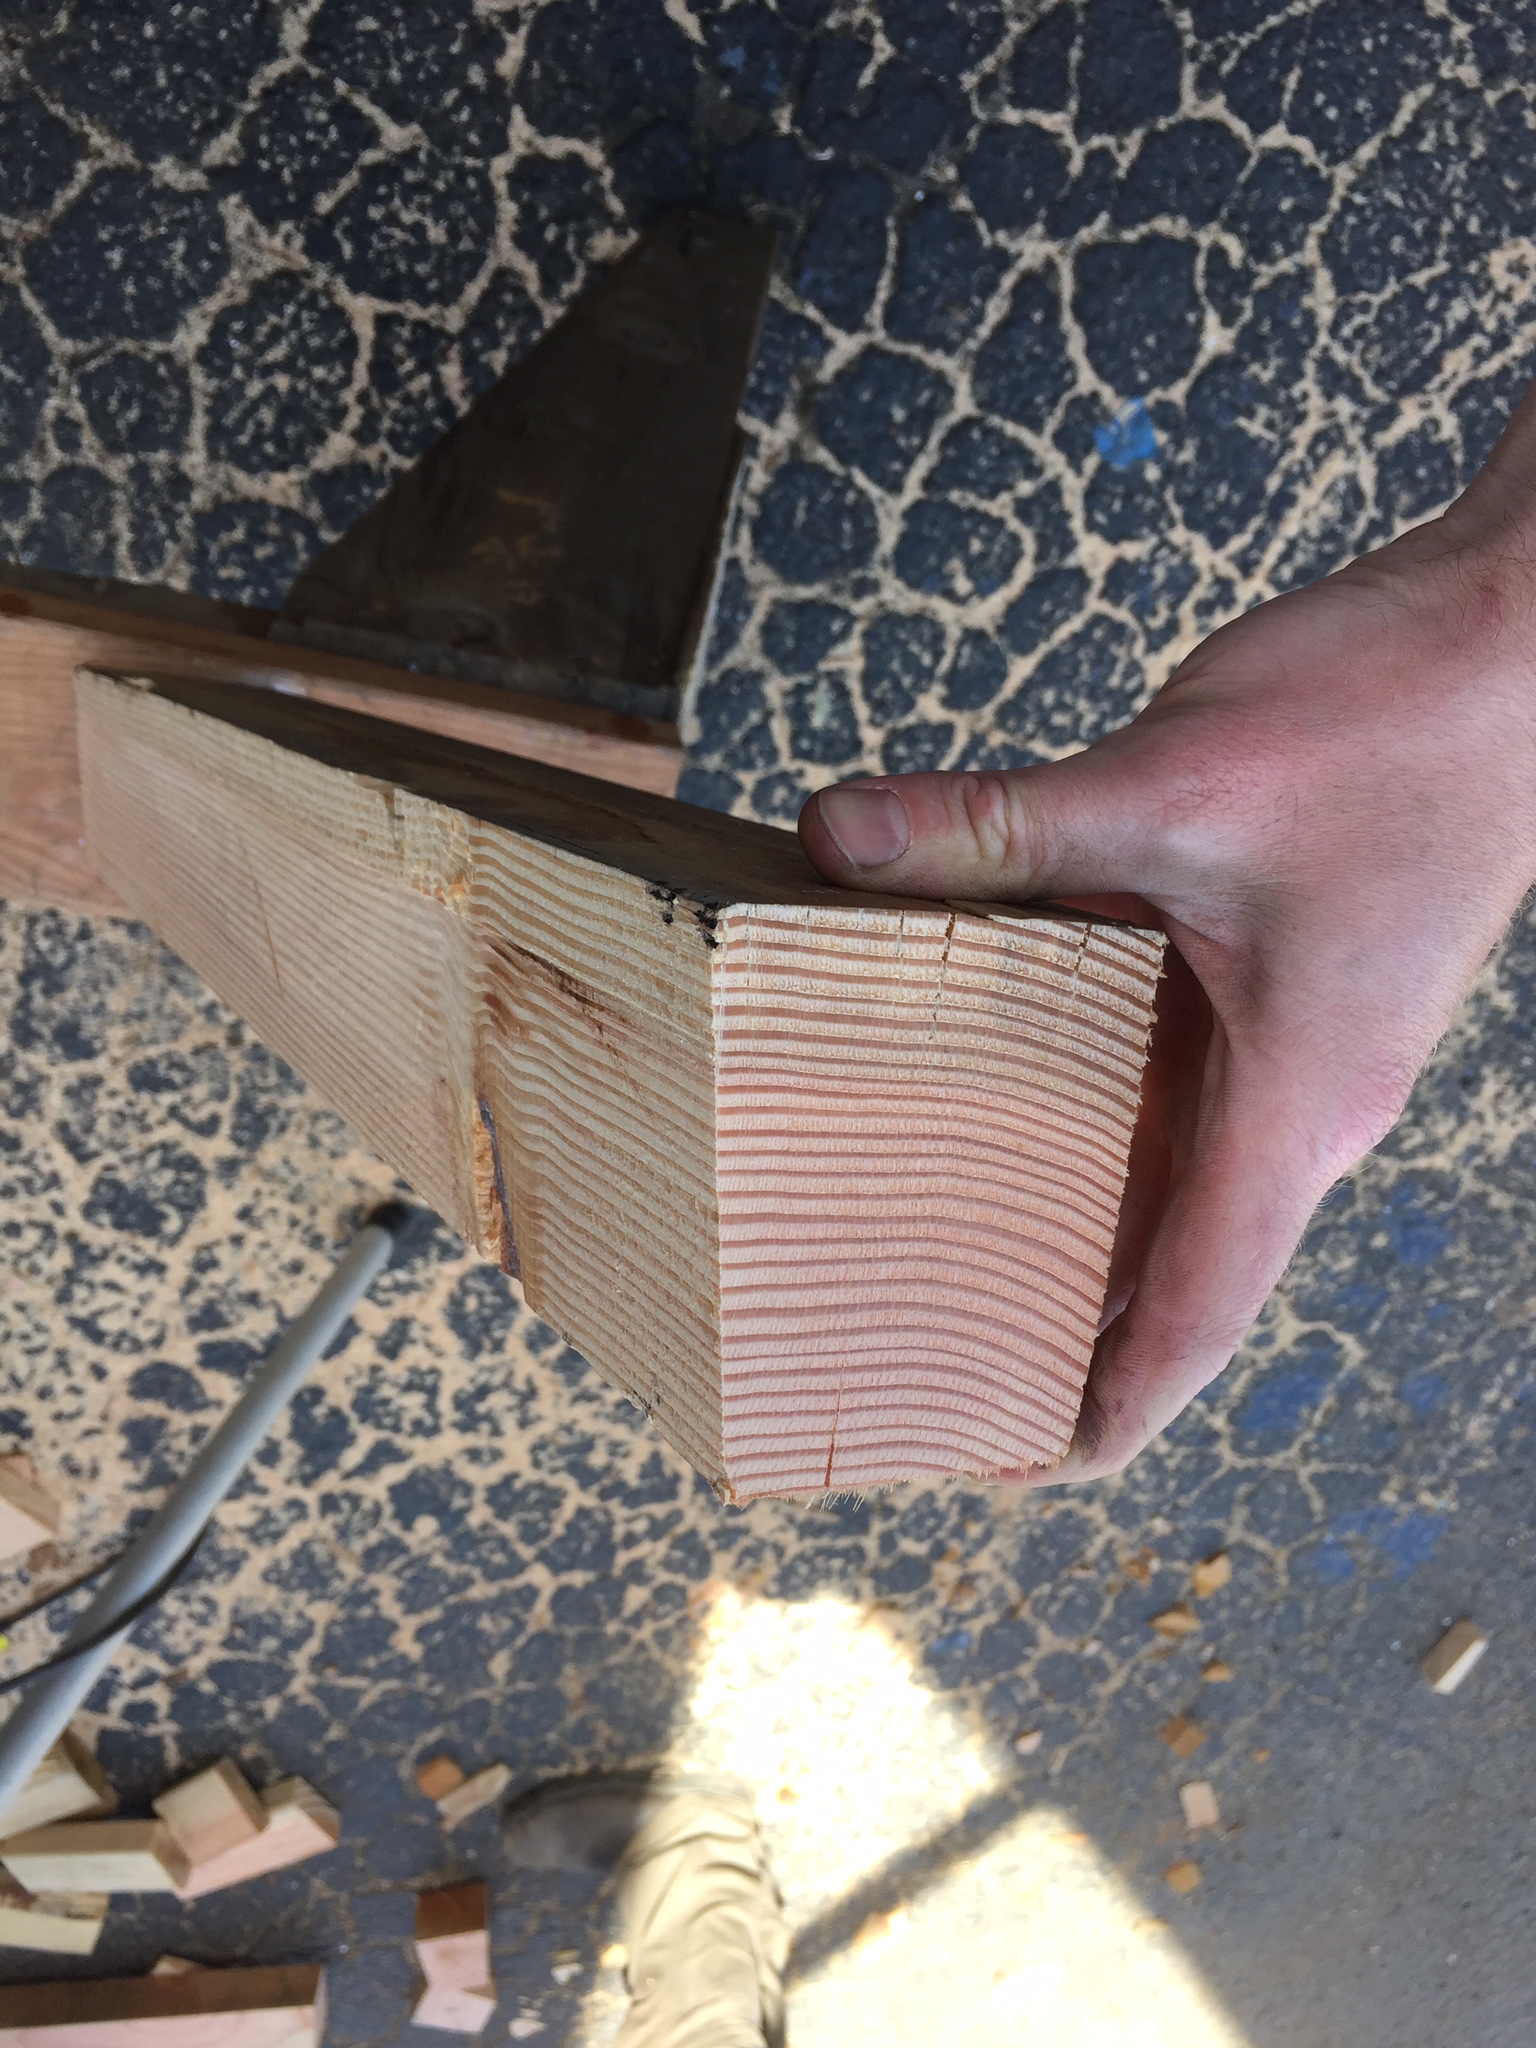
With the layout done, we knew the angles for the end cuts of all the pieces of the front/back ladder assemblies.
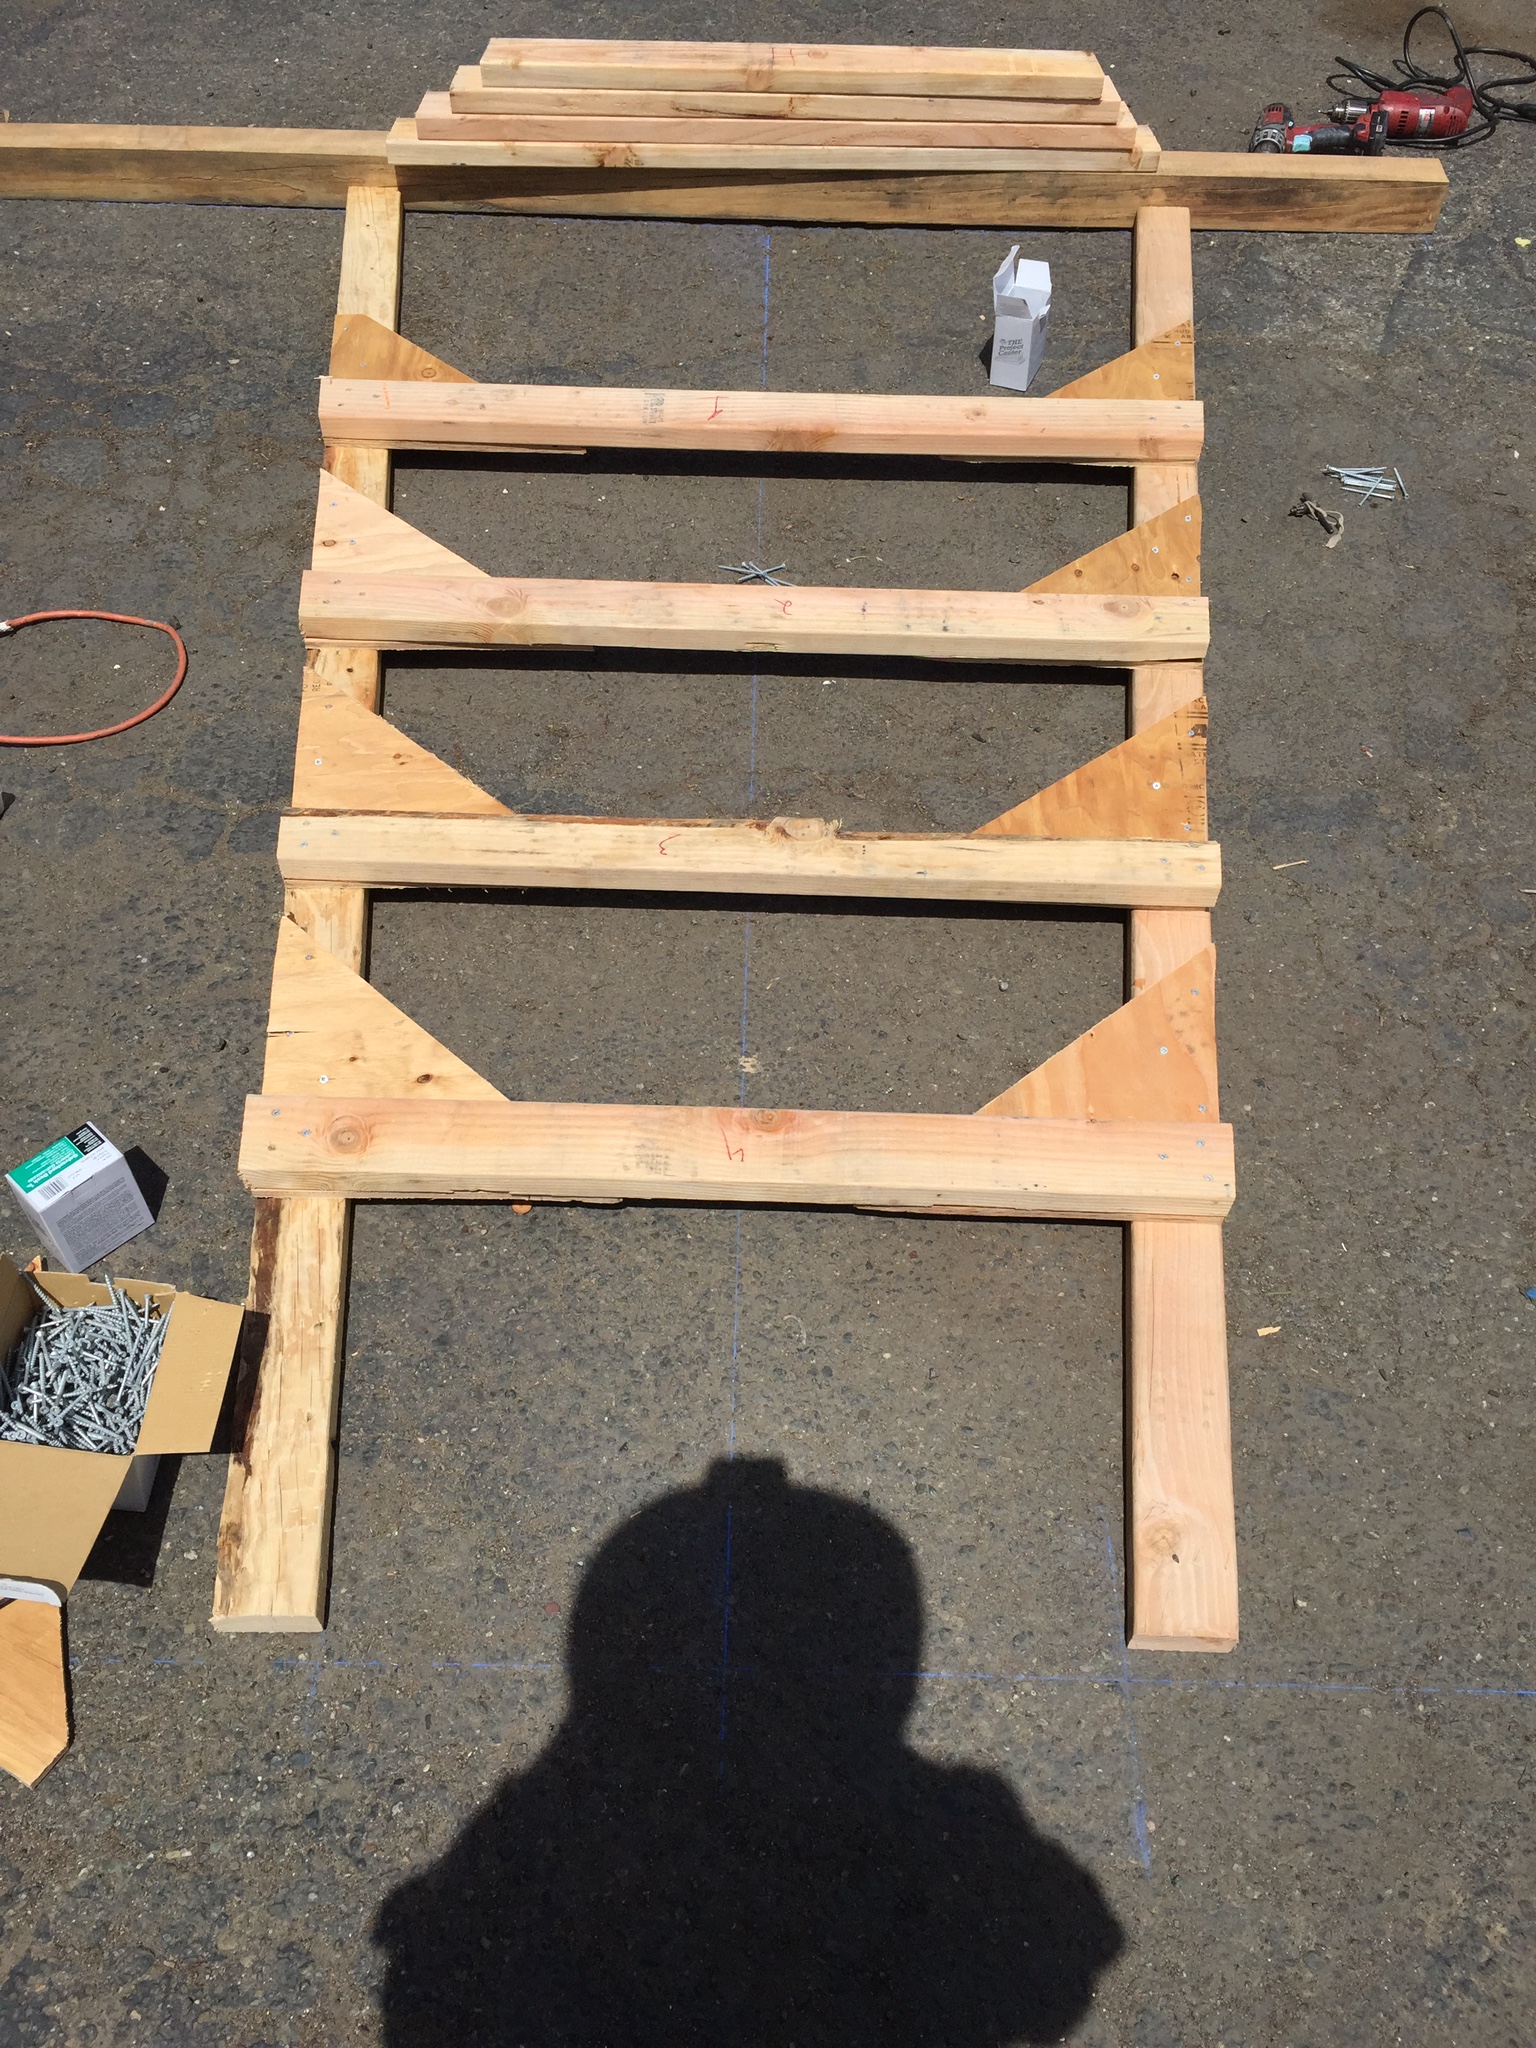
We started by cutting all the verticals and plywood gussets, as well as the horizontal rungs. We then assembled the ladder sections on our layout T in production fashion.

After assembling all the ladder sections, we figured out the splay angle for the sides, and cut a ridge to join two ladder sections.

With the ladder sections joined, it was simple to determine the lengths and angles for the side rungs and gussets.
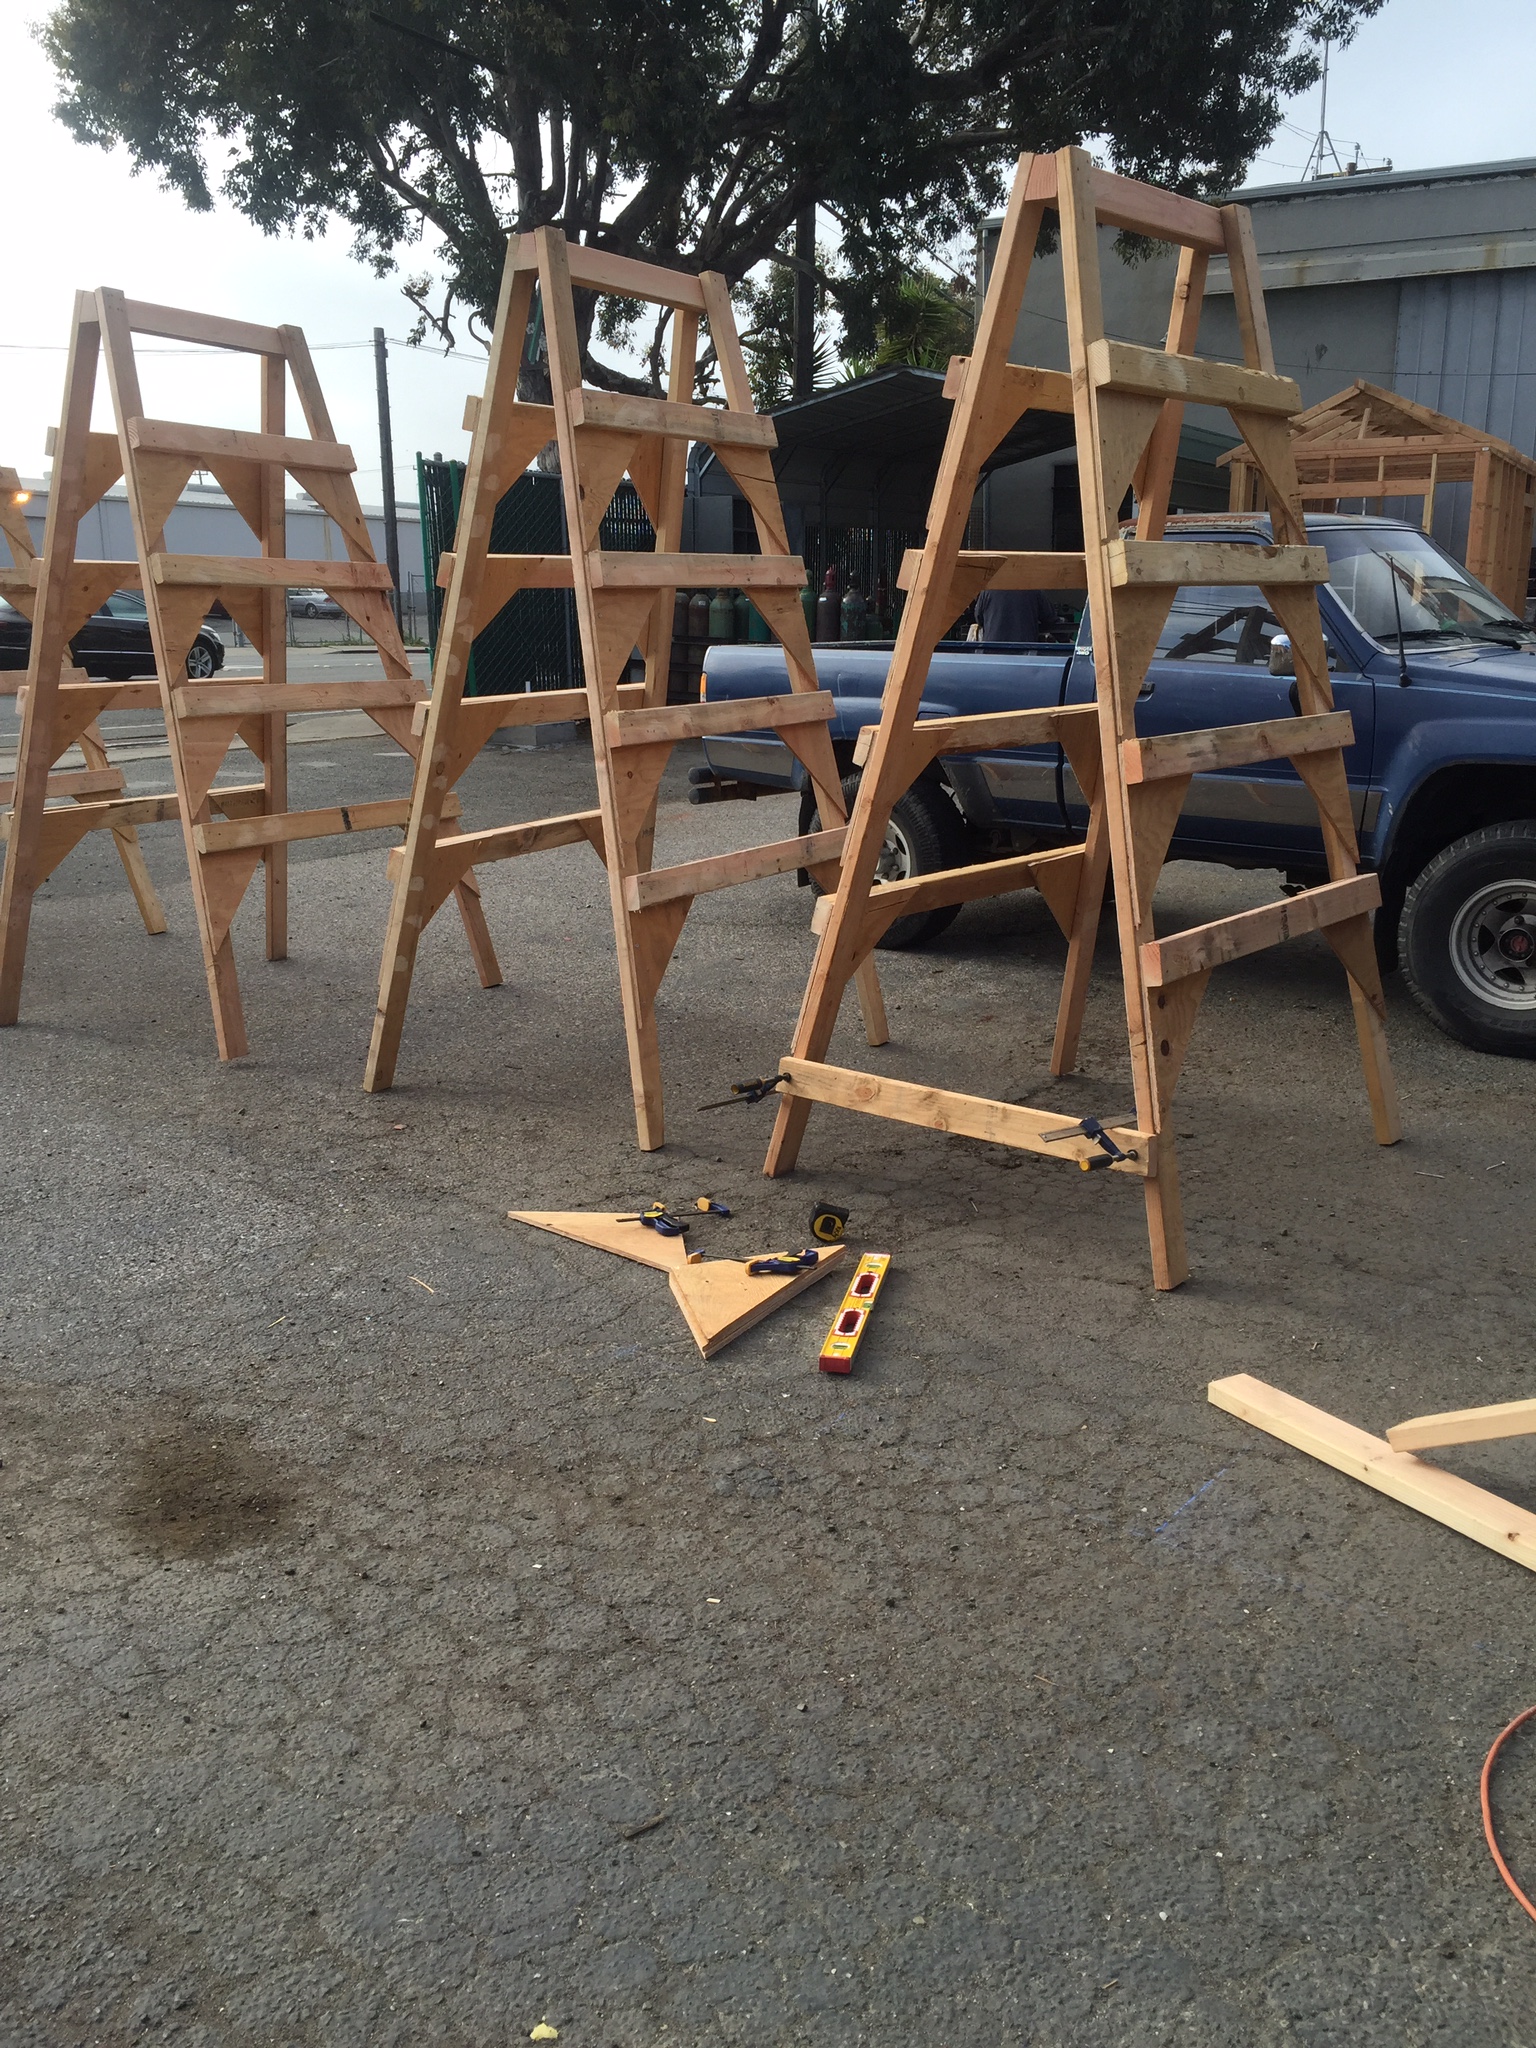
With the appropriate planking screwed to them, and handrails installed, this scaffolding is very stable, strong and easy to climb.

A comfortable platform to work from not only makes a task easier, but is safer and more efficient.

THE BOW SHED
Fact: We don't all have as much indoor space to do all of the projects we would like to. Maybe you want to work on a boat or car? Maybe you need a temporary shop? Maybe you need a temporary place to stay?
This temporary shed design is simple, cheap to build, and will stand up to the elements.

Start by determining the dimensions you require, this shed uses 16 foot 1x4's for the verticals. The cross-members (or bents) are quite widely spaced, so you may want to consider the weather when determining how many you will need.
Next, set up a curve that looks nice to your eye, and start building bents. This one uses 4x4's as the spacers, but you could use plywood gussets screwed to the sides of the 1x4's as well. Connect the two halves of each bent with plywood. Leaving a groove for the ridge pole to rest on.

Stand them up and attach the ridge, longitudinals, and some diagonal strapping and brace as needed. After padding the ridge, skin with boat-wrap type plastic, this stuff is the very best material for the job. You can heat shrink the plastic if you would like.
As always, the better building materials will be stronger, last longer, and cost more than the cheaper alternatives.

Now you will be sheltered from the elements while you work. This will look pretty sharp for a temporary shed, who knows, maybe it won't end up so temporary after all.