Glued lapstrake canoe part 2- planking and painting
The first pair of planks are called the Garboards. They pretty much set up how every plank above them will look.
By carefully “lining out” where I wanted each plank to be, and marking the molds with the widths of each plank and the overlaps(laps), I knew ahead of time what the plank lines would look like on the finished boat.
The garboards went on without too much fuss, but a lot of twist. Each end basically corkscrews 90 degrees opposite the other from the center. Once those two were on, I laid a layer of fiberglass over both of them.
For the fiberglassing and bonding of this boat I used West System 105 resin and 207 special clear hardener which works very well and doesn't have an amine blush, this makes building up coats easy.
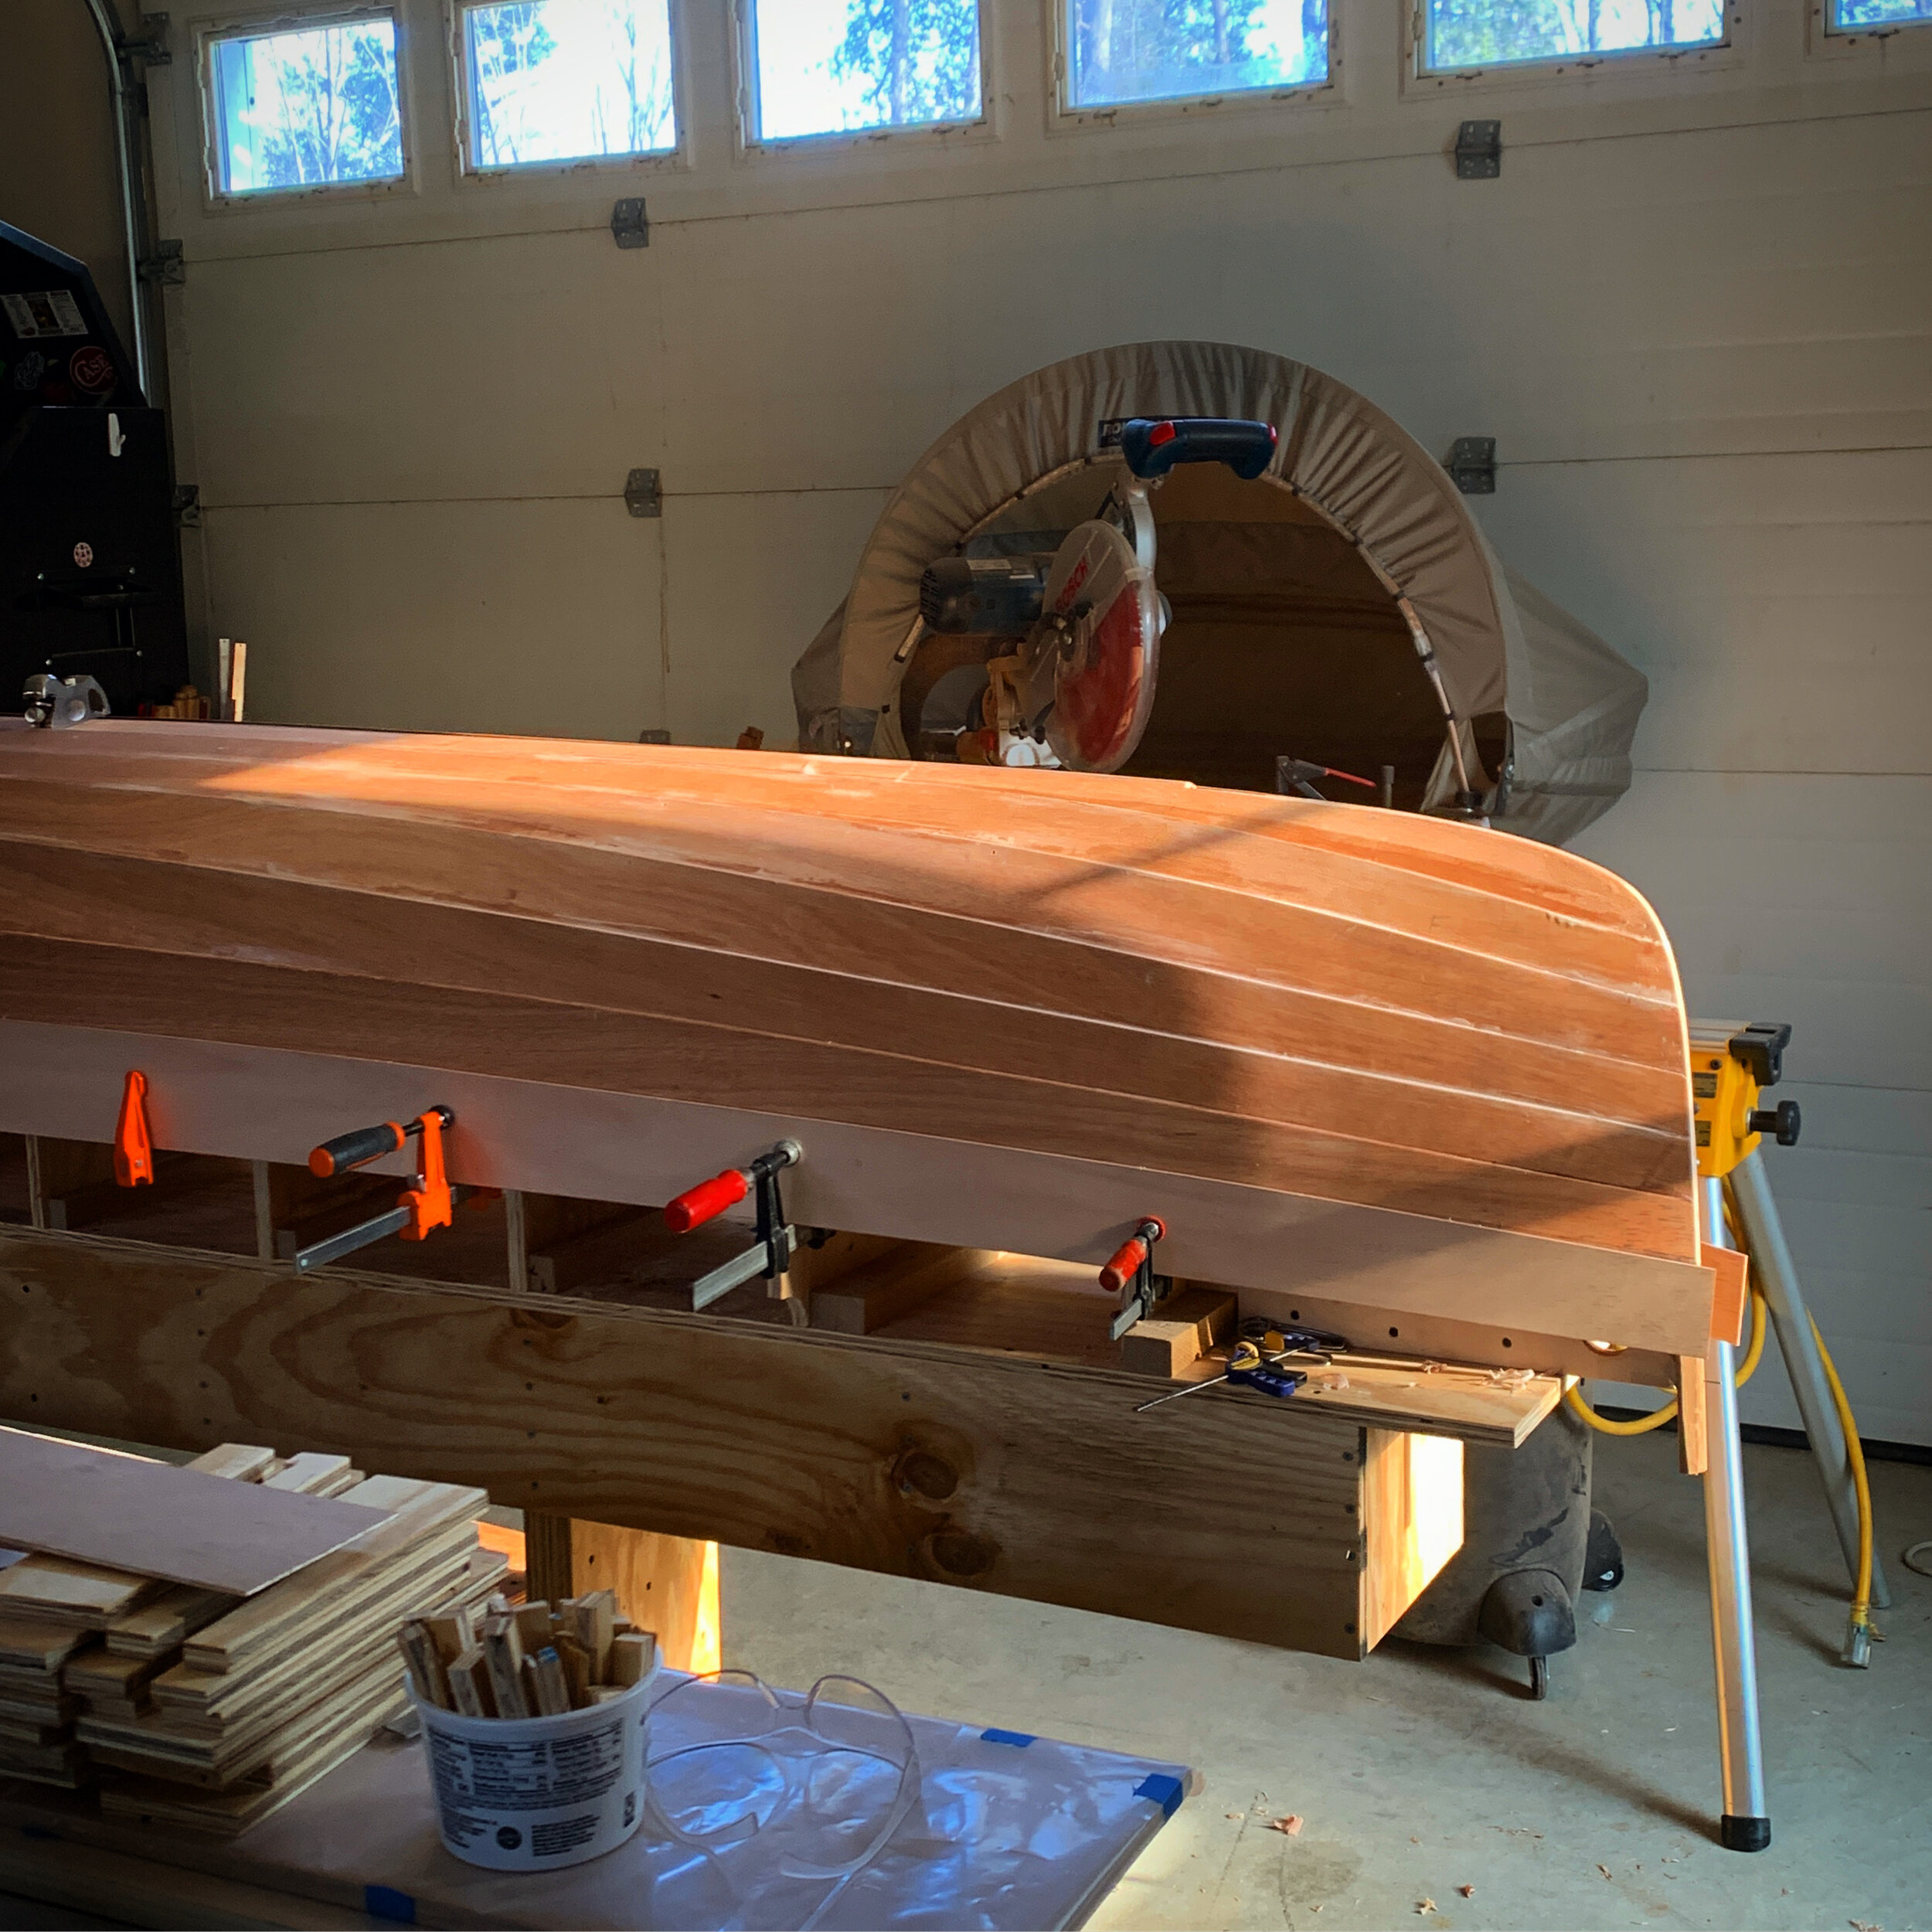
The next planks were spiled off of the molds and pre fiberglassed before I attached them to the boat. Each plank was fiberglassed using peel-ply for a tight connection between the glass and the wood, and filleted to its neighbors using high strength fillers.
As I closed the hull up, I faired the plank seams a bit and added more fiberglass to the planks that would hit the ground when you beach, or should you brush a log or gravel bar.
Next, I made the tapered outwales. I scarfed together some lengths of ash in a similar fashion to how I joined the plywood planks and made some nice 16 footers. By using a nice long tapered glue joint, you end up with a strong piece that will hopefully flex in a nice fair curve. I bonded the outwales onto the sheer plank and finished sanding and prepping the hull for paint.
Then I got out the Epifanes two Part polyurethane in a lovely pale green. Mixing small batches with a digital food scale is the way to go for this fast curing epoxy like finish.
It also puts out a ton of fumes in the first few hours, so a respirator and ventilation are important.
After I put this primer coat on the exterior (which is impressively hard like a car finish), I was ready to flip the hull… an exciting day.


